How to find your Style

Finding my style was something I fought with for my entire adult artist life. There are some artist you can see their work and immediately recognize it. In the age of Instagram and social media showing you constant slew of talented artist, it can be easy to start the comparison game. I would find myself comparing myself to other artists who had this obvious and identifiable voice in their art. Meanwhile, my work felt like it didn’t look like anyone’s art not even my own. Today I finally feel like I found my style and voice as an artist. Here is how I found it.

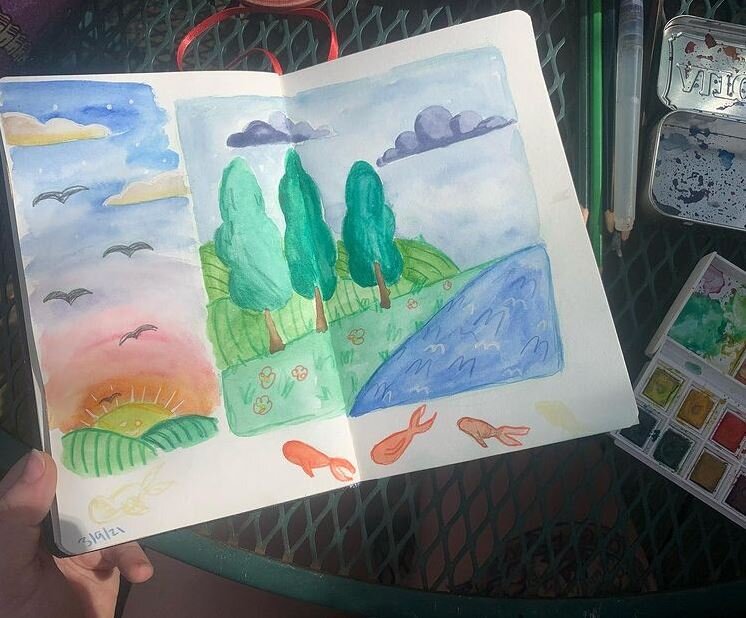
First lets look at some of my earlier work to see a time when I didn’t feel like I had a style.

mindless.JPG
gold and ink rose.JPG
big eyes.JPG

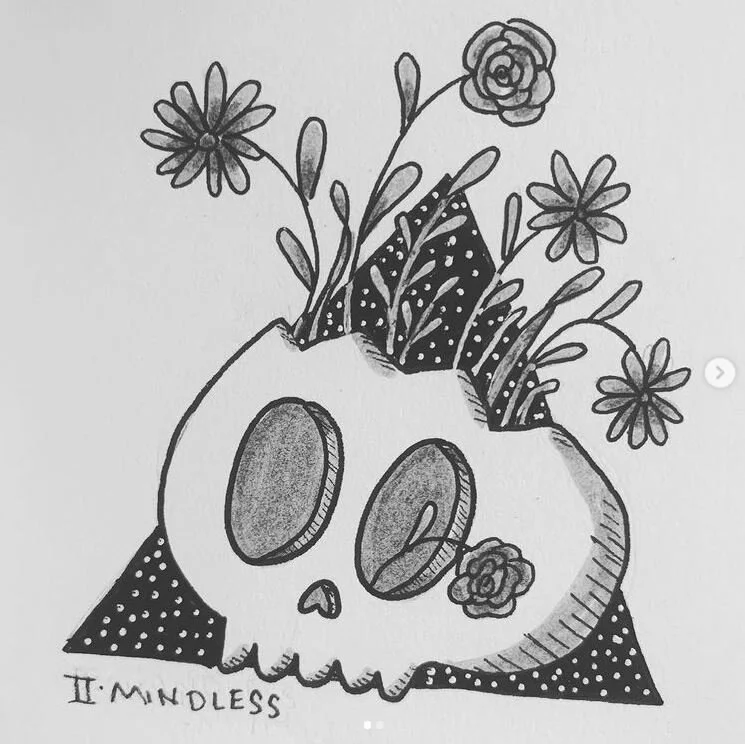
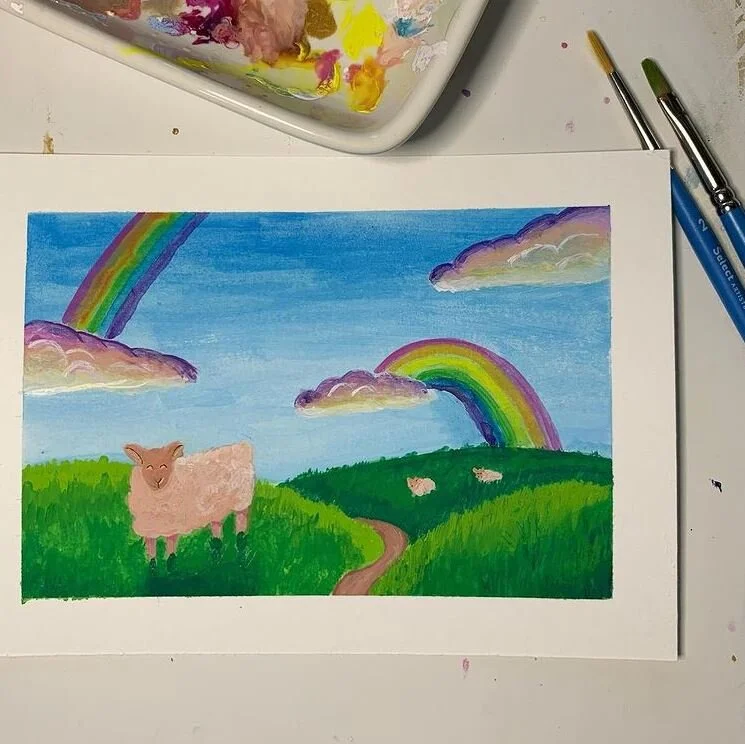
When I look at these what I see is me trying to create based on someone else’s artist style and voice. In the last painting specifically, I did not see my style but looking back it was always there.

In 2020 I took a class on Skillshare to find my artistic style. The first portion of the class we went over the elements and principles of art. We did this to be able to look at art and be able to talk about it.

The elements of art are shape, color, form, value, space, color, texture, and line.

The principles of art are unity, balance, proportion, emphasis, pattern, movement, and variety.

If you want to know more about these here is an article that explains the elements and principles. We then had a task of creating a mood board from artist and art work that we like. We then wrote and essay about the mood board we created and what we liked about the pieces using the elements and principles. Here is what my mood board looked like.

mood board.JPG

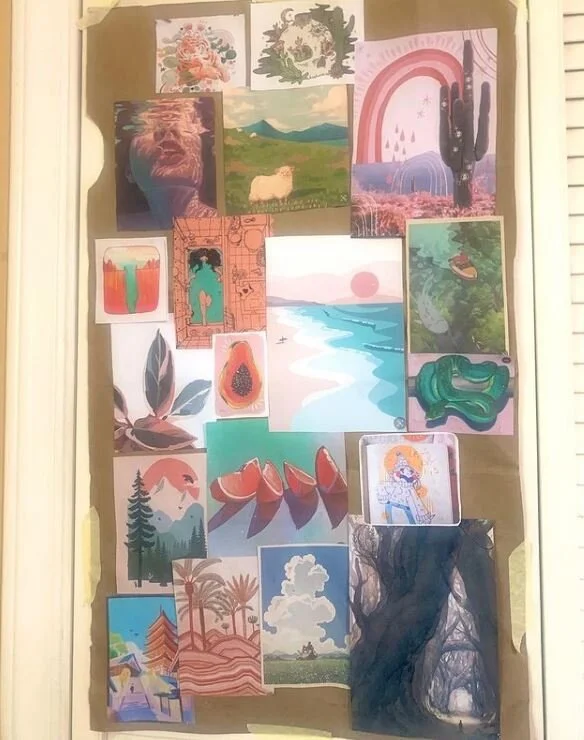
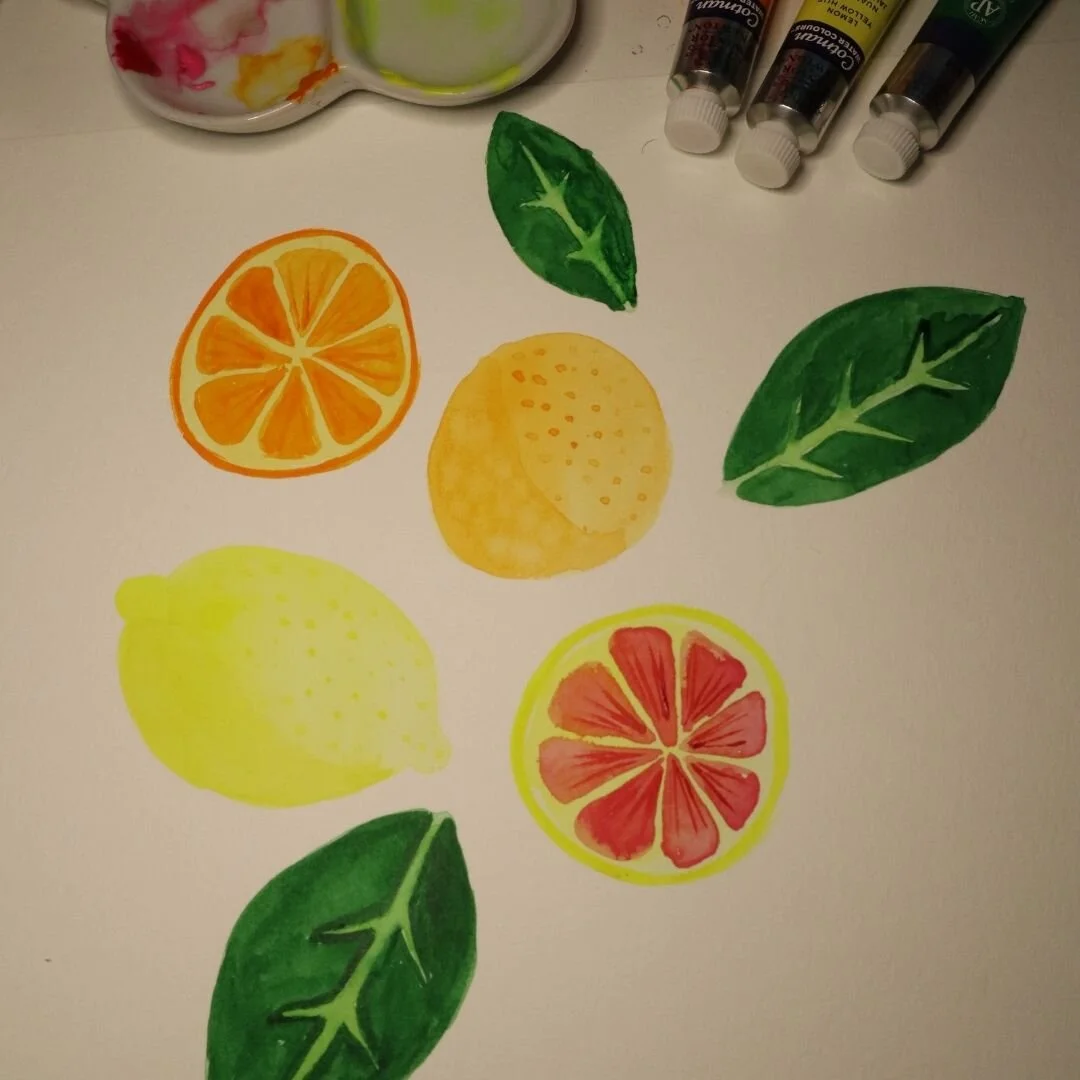
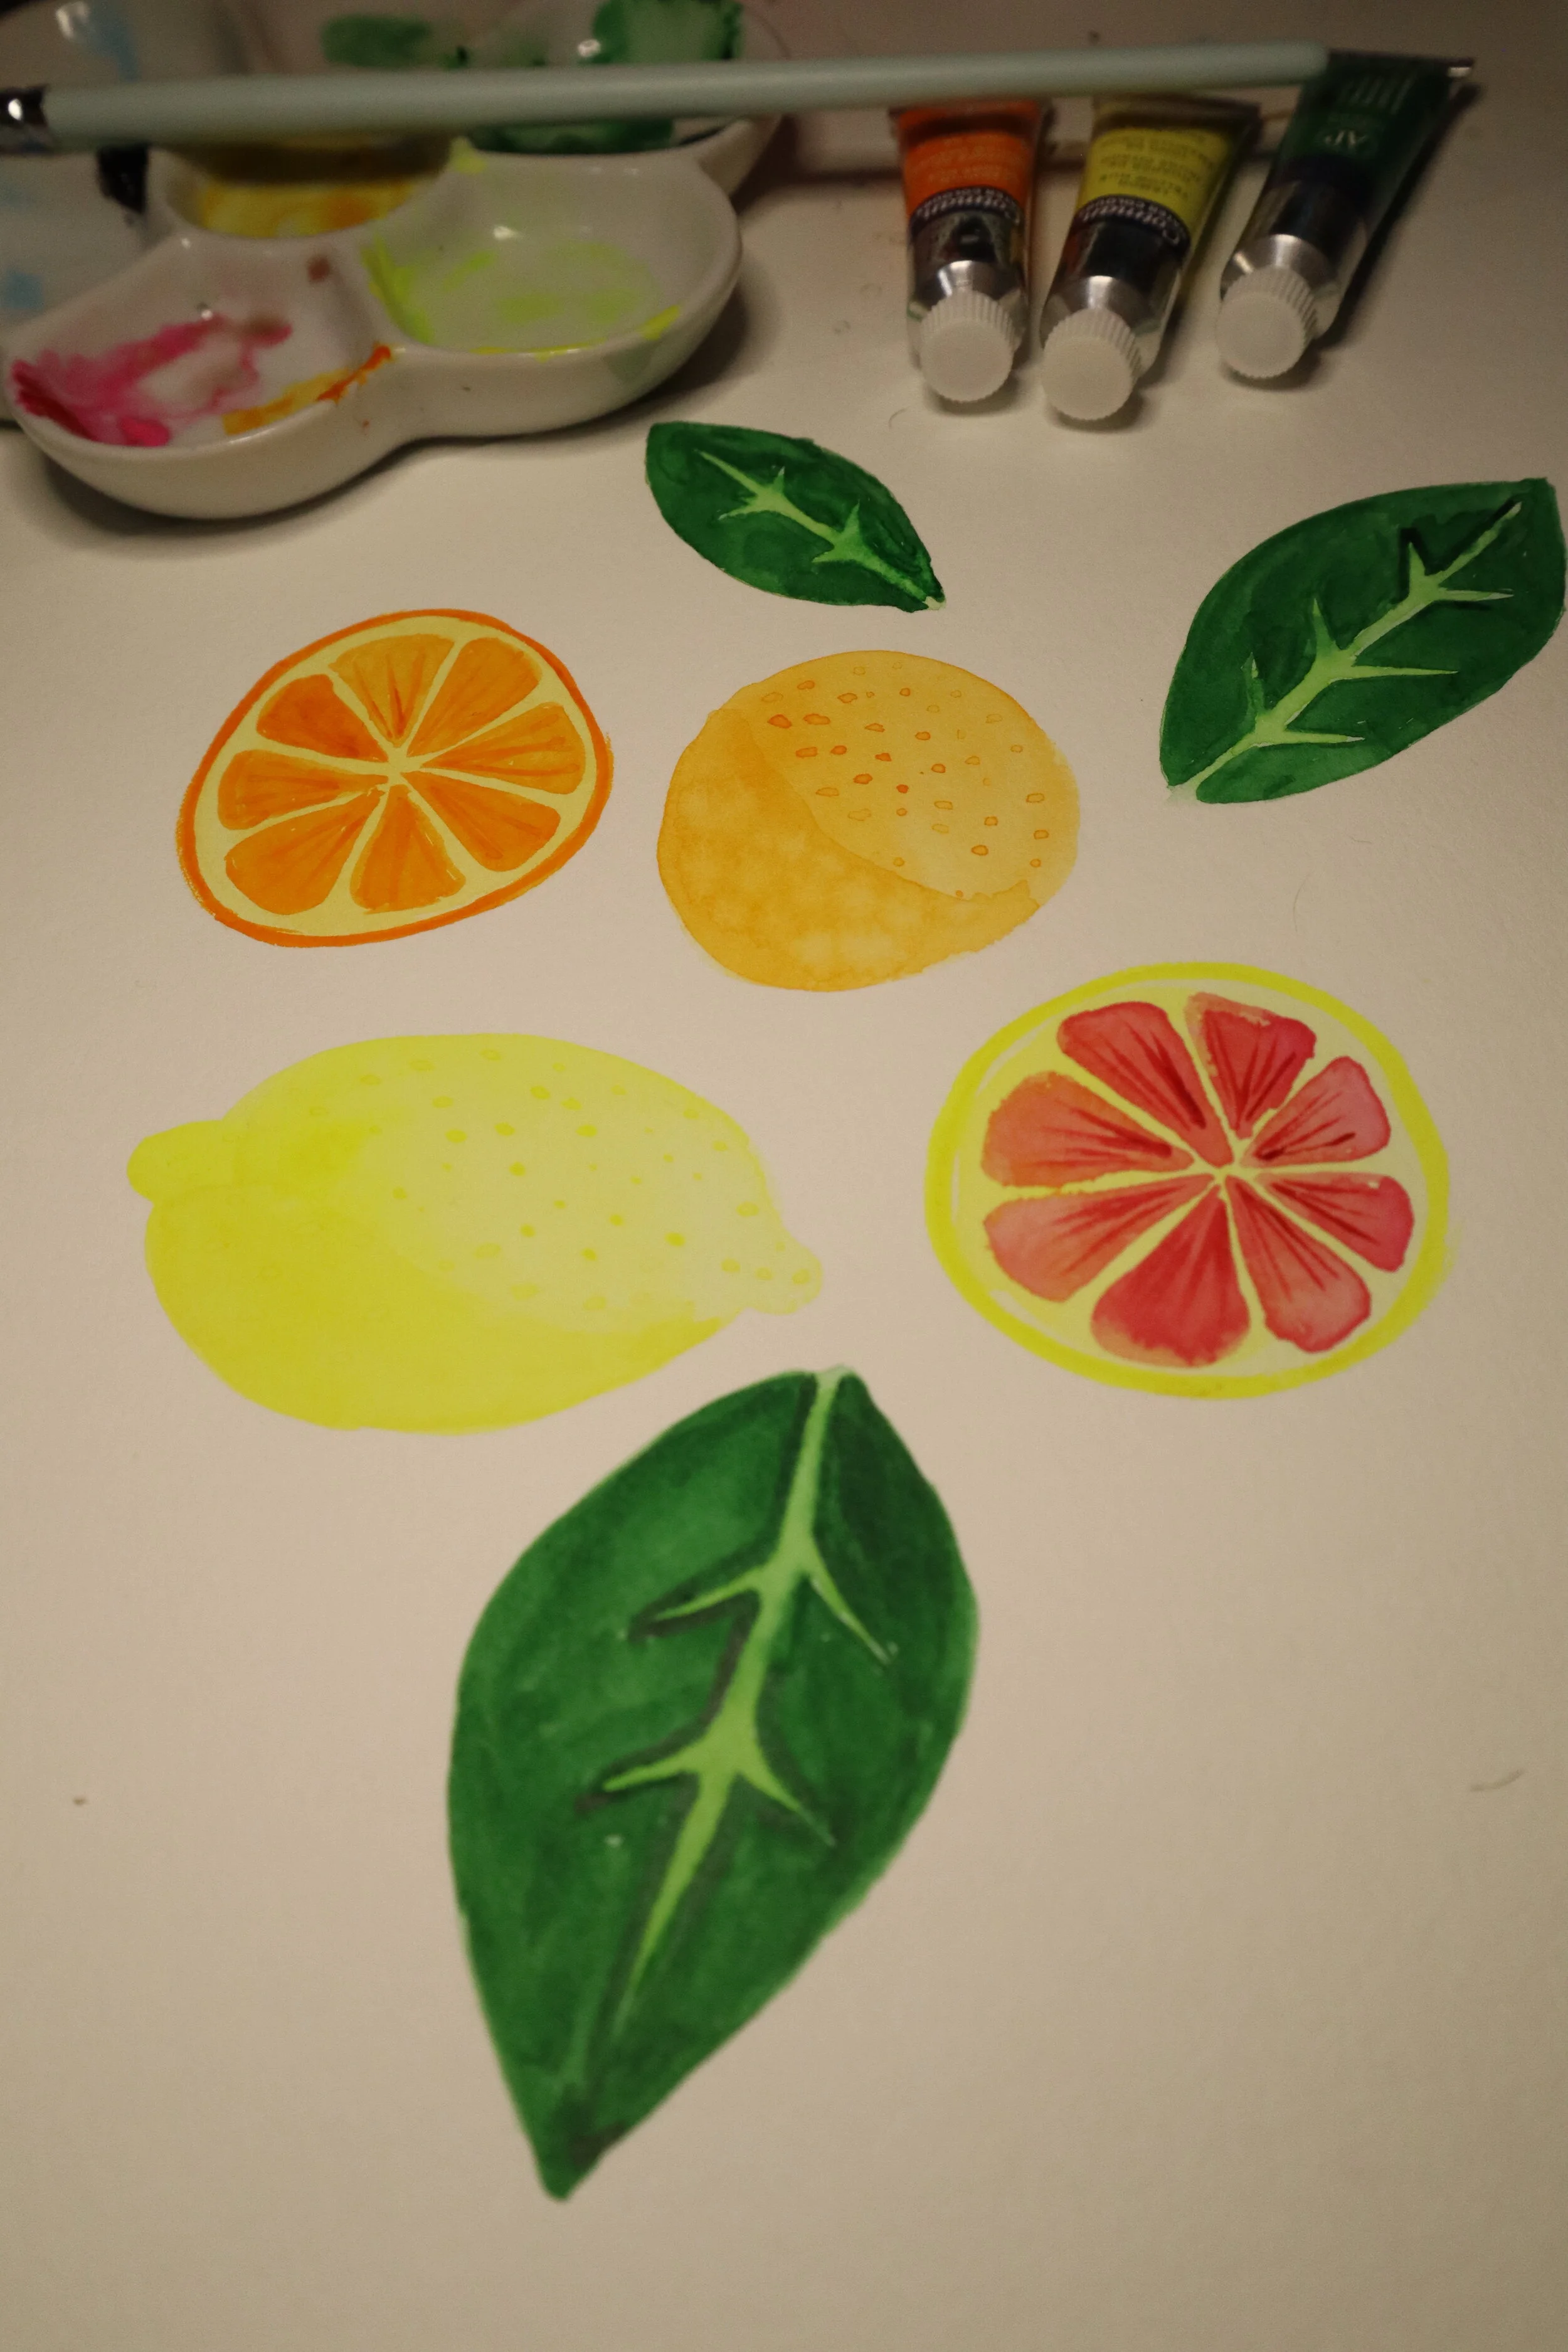
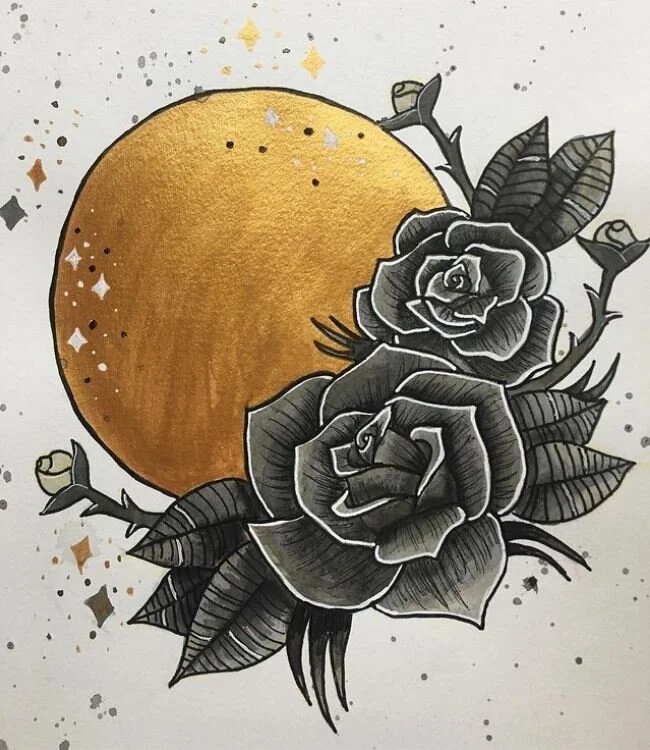
Here is the basics of what I got from this exercise. There are colors that I gravitate toward but more specifically I enjoy the contrast of colors. I enjoy when lines are created by color and and form apposed to actual line work. I am inspired by and enjoy art inspired by nature. There’s more there for sure but those were my biggest take aways. This didn’t necessarily teach me anything I didn’t already know but what it did show me is what I like and why. This inspired me to paint and create based on what I saw as my preferences to create my style. Here are a couple painting I did following this class.

onion print.jpg
eves pin.jpg
blue snake.jpg

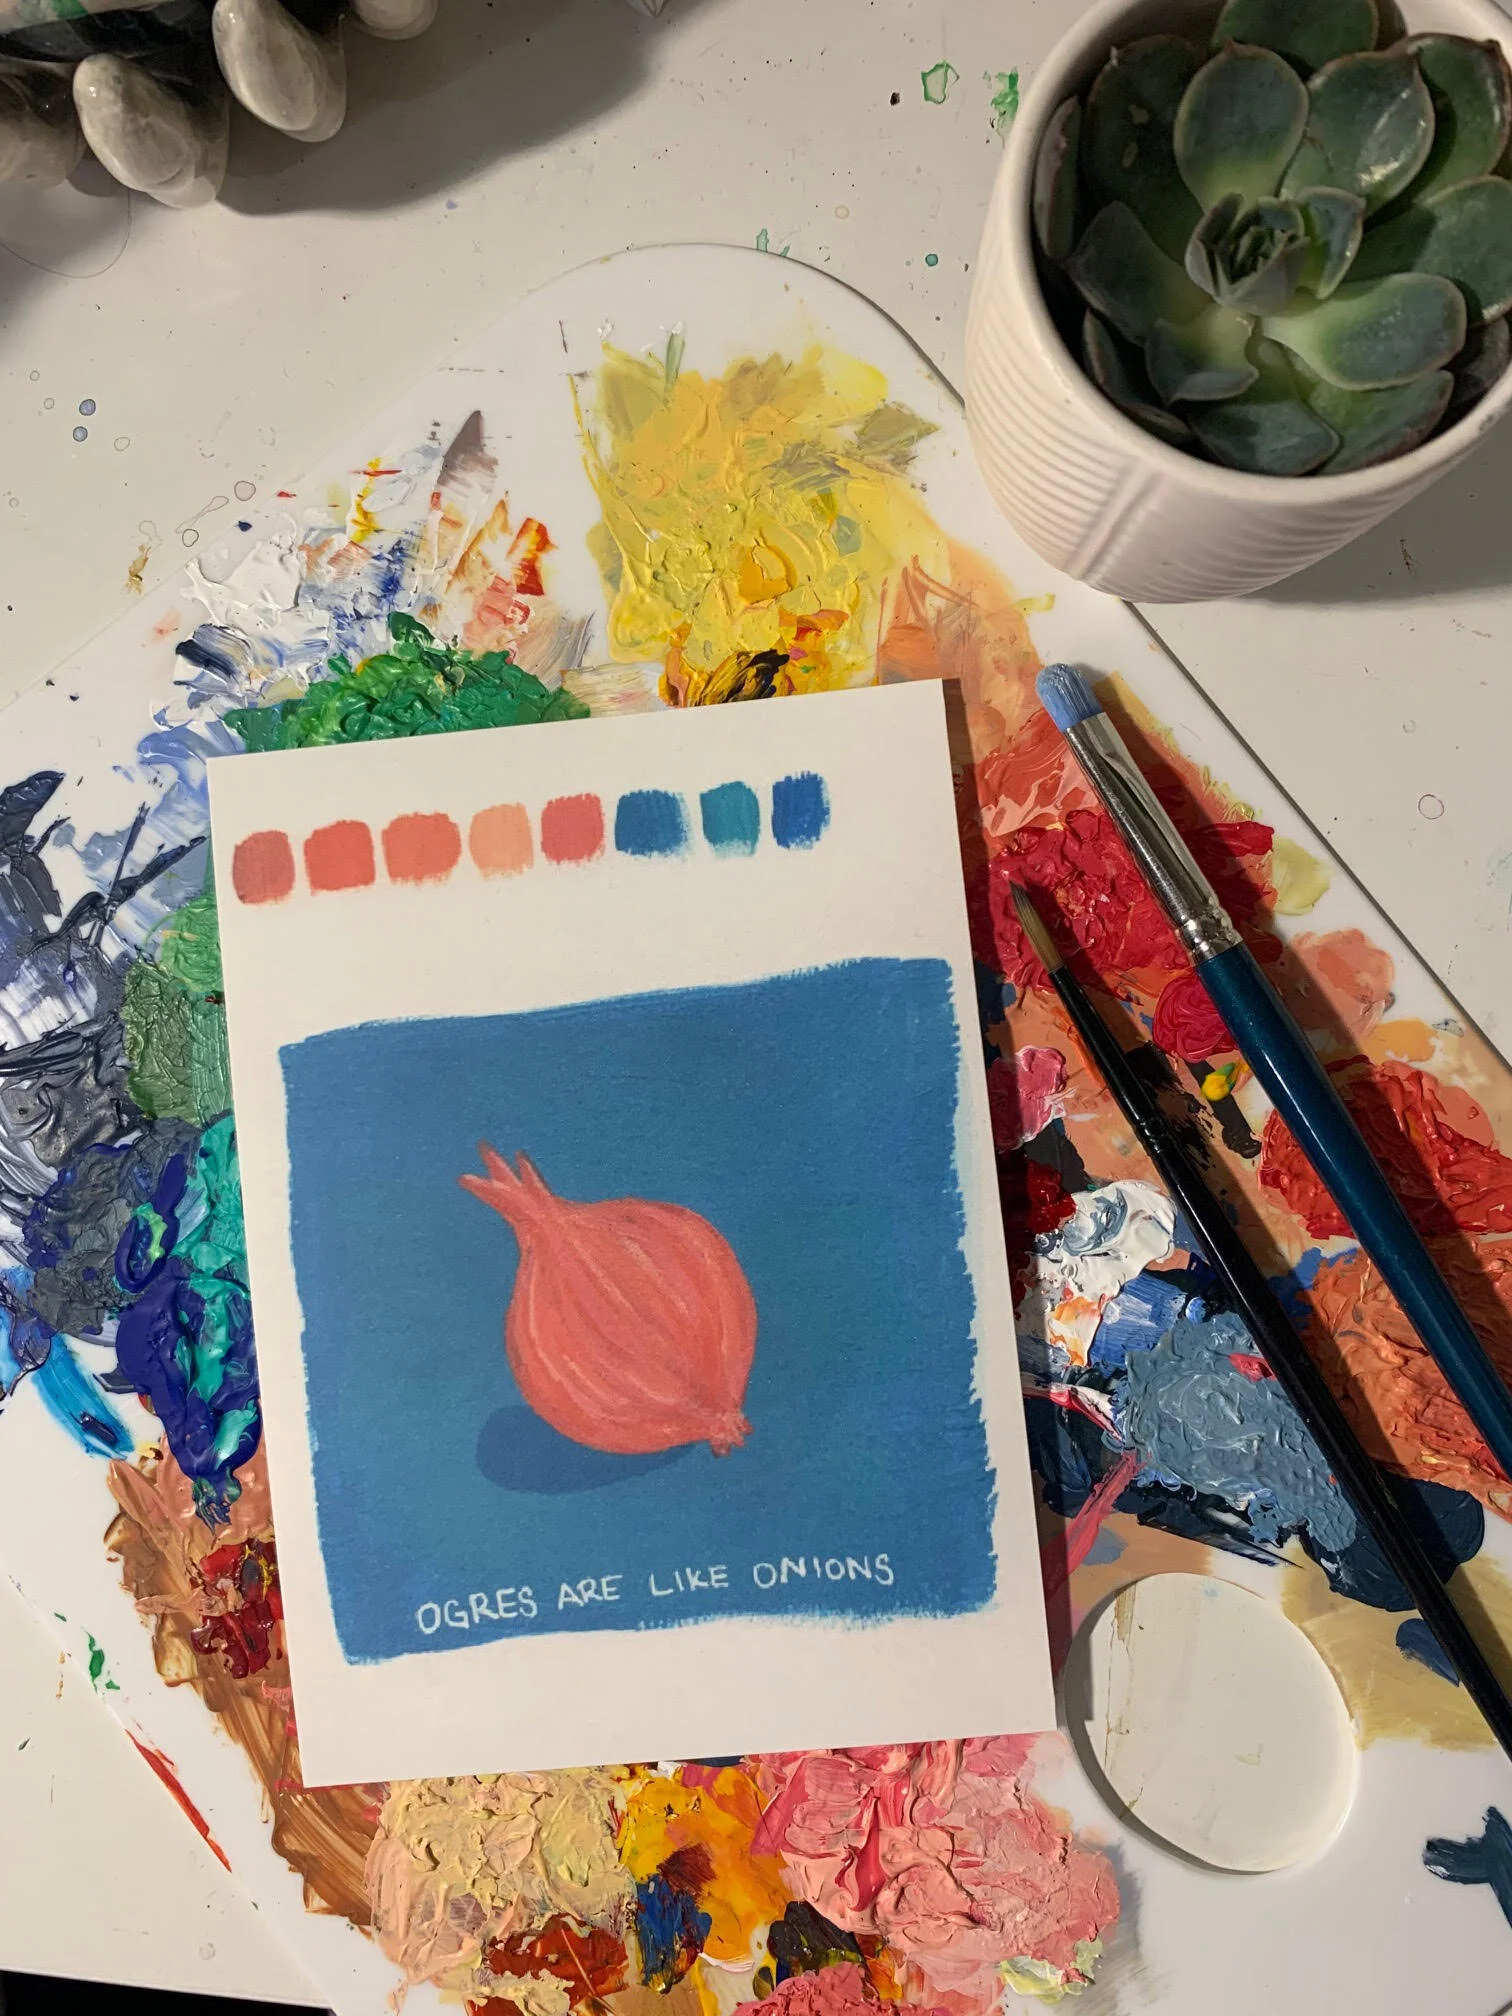
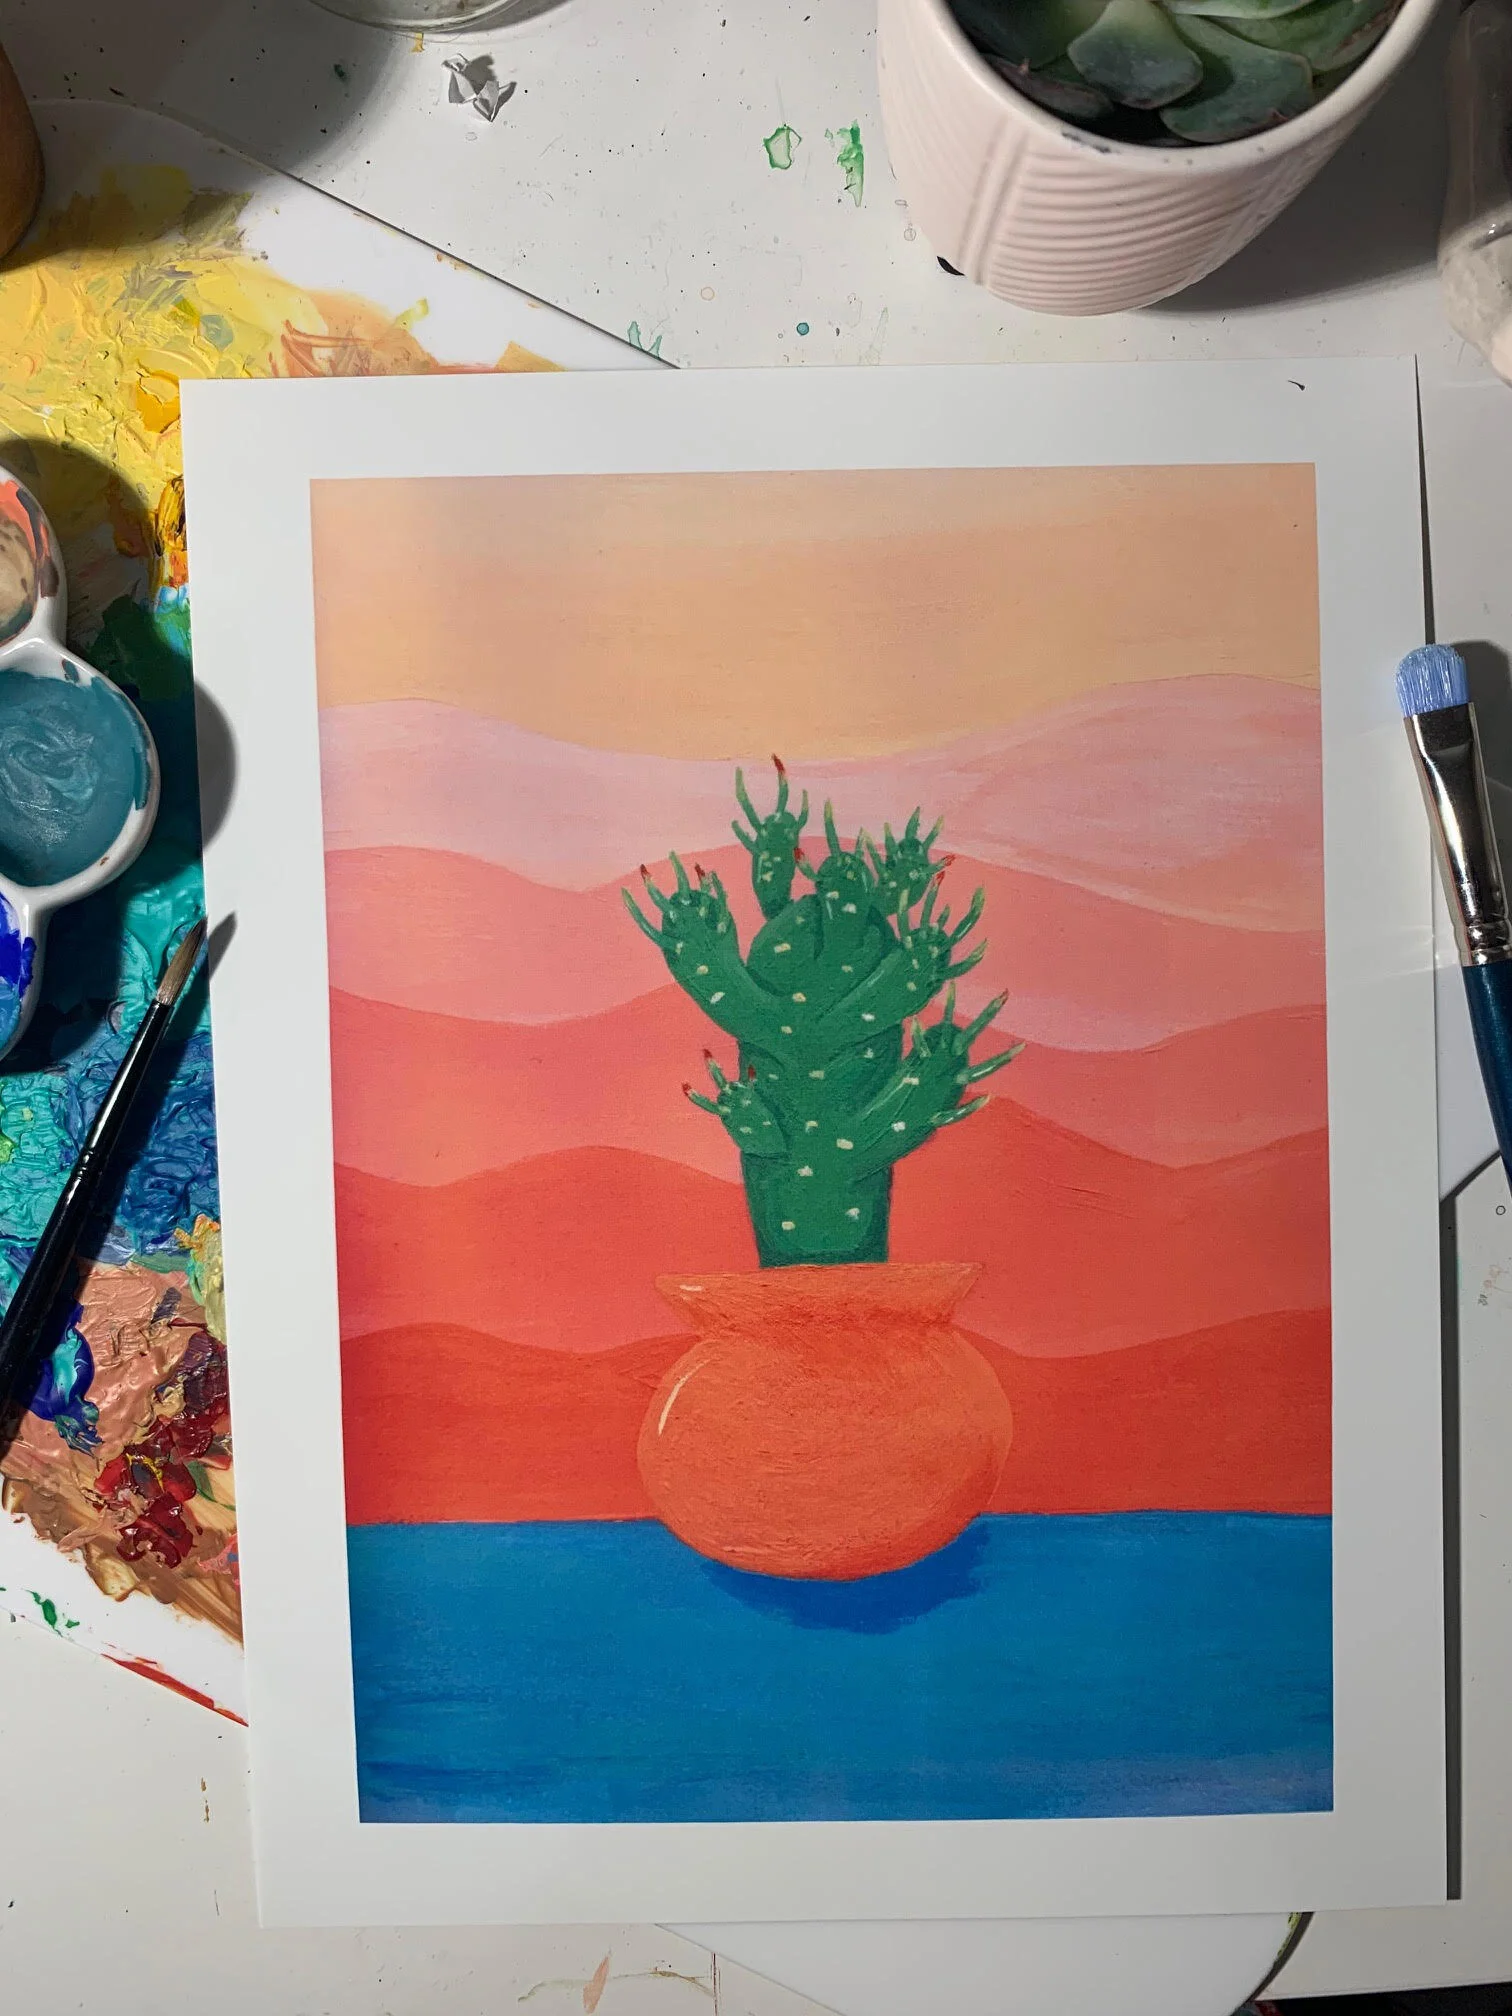
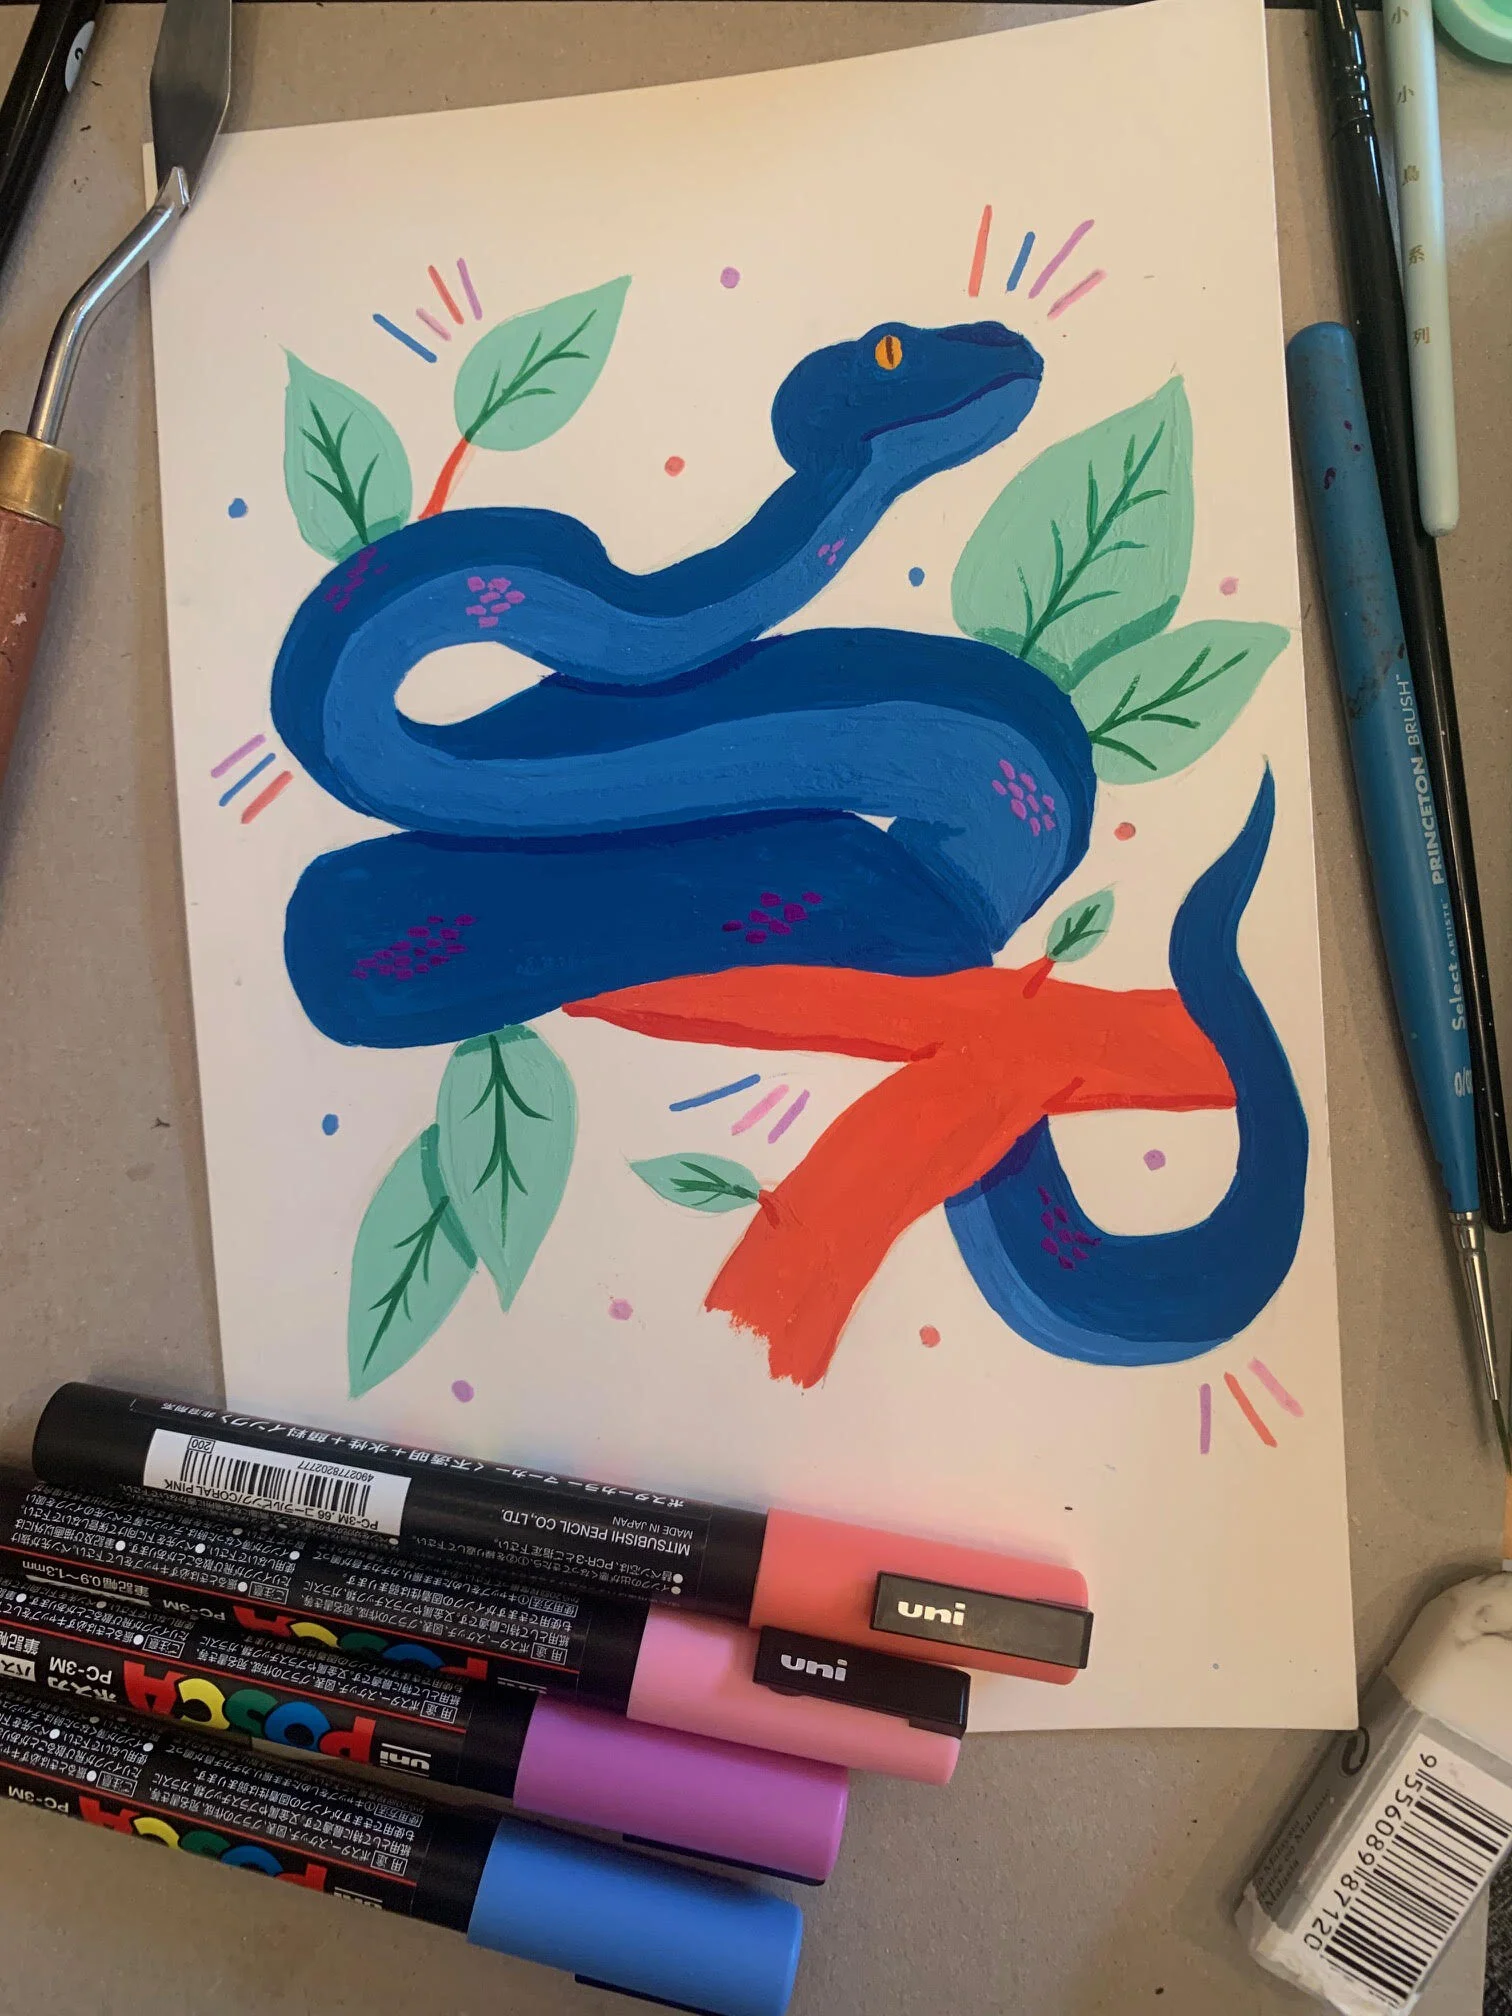
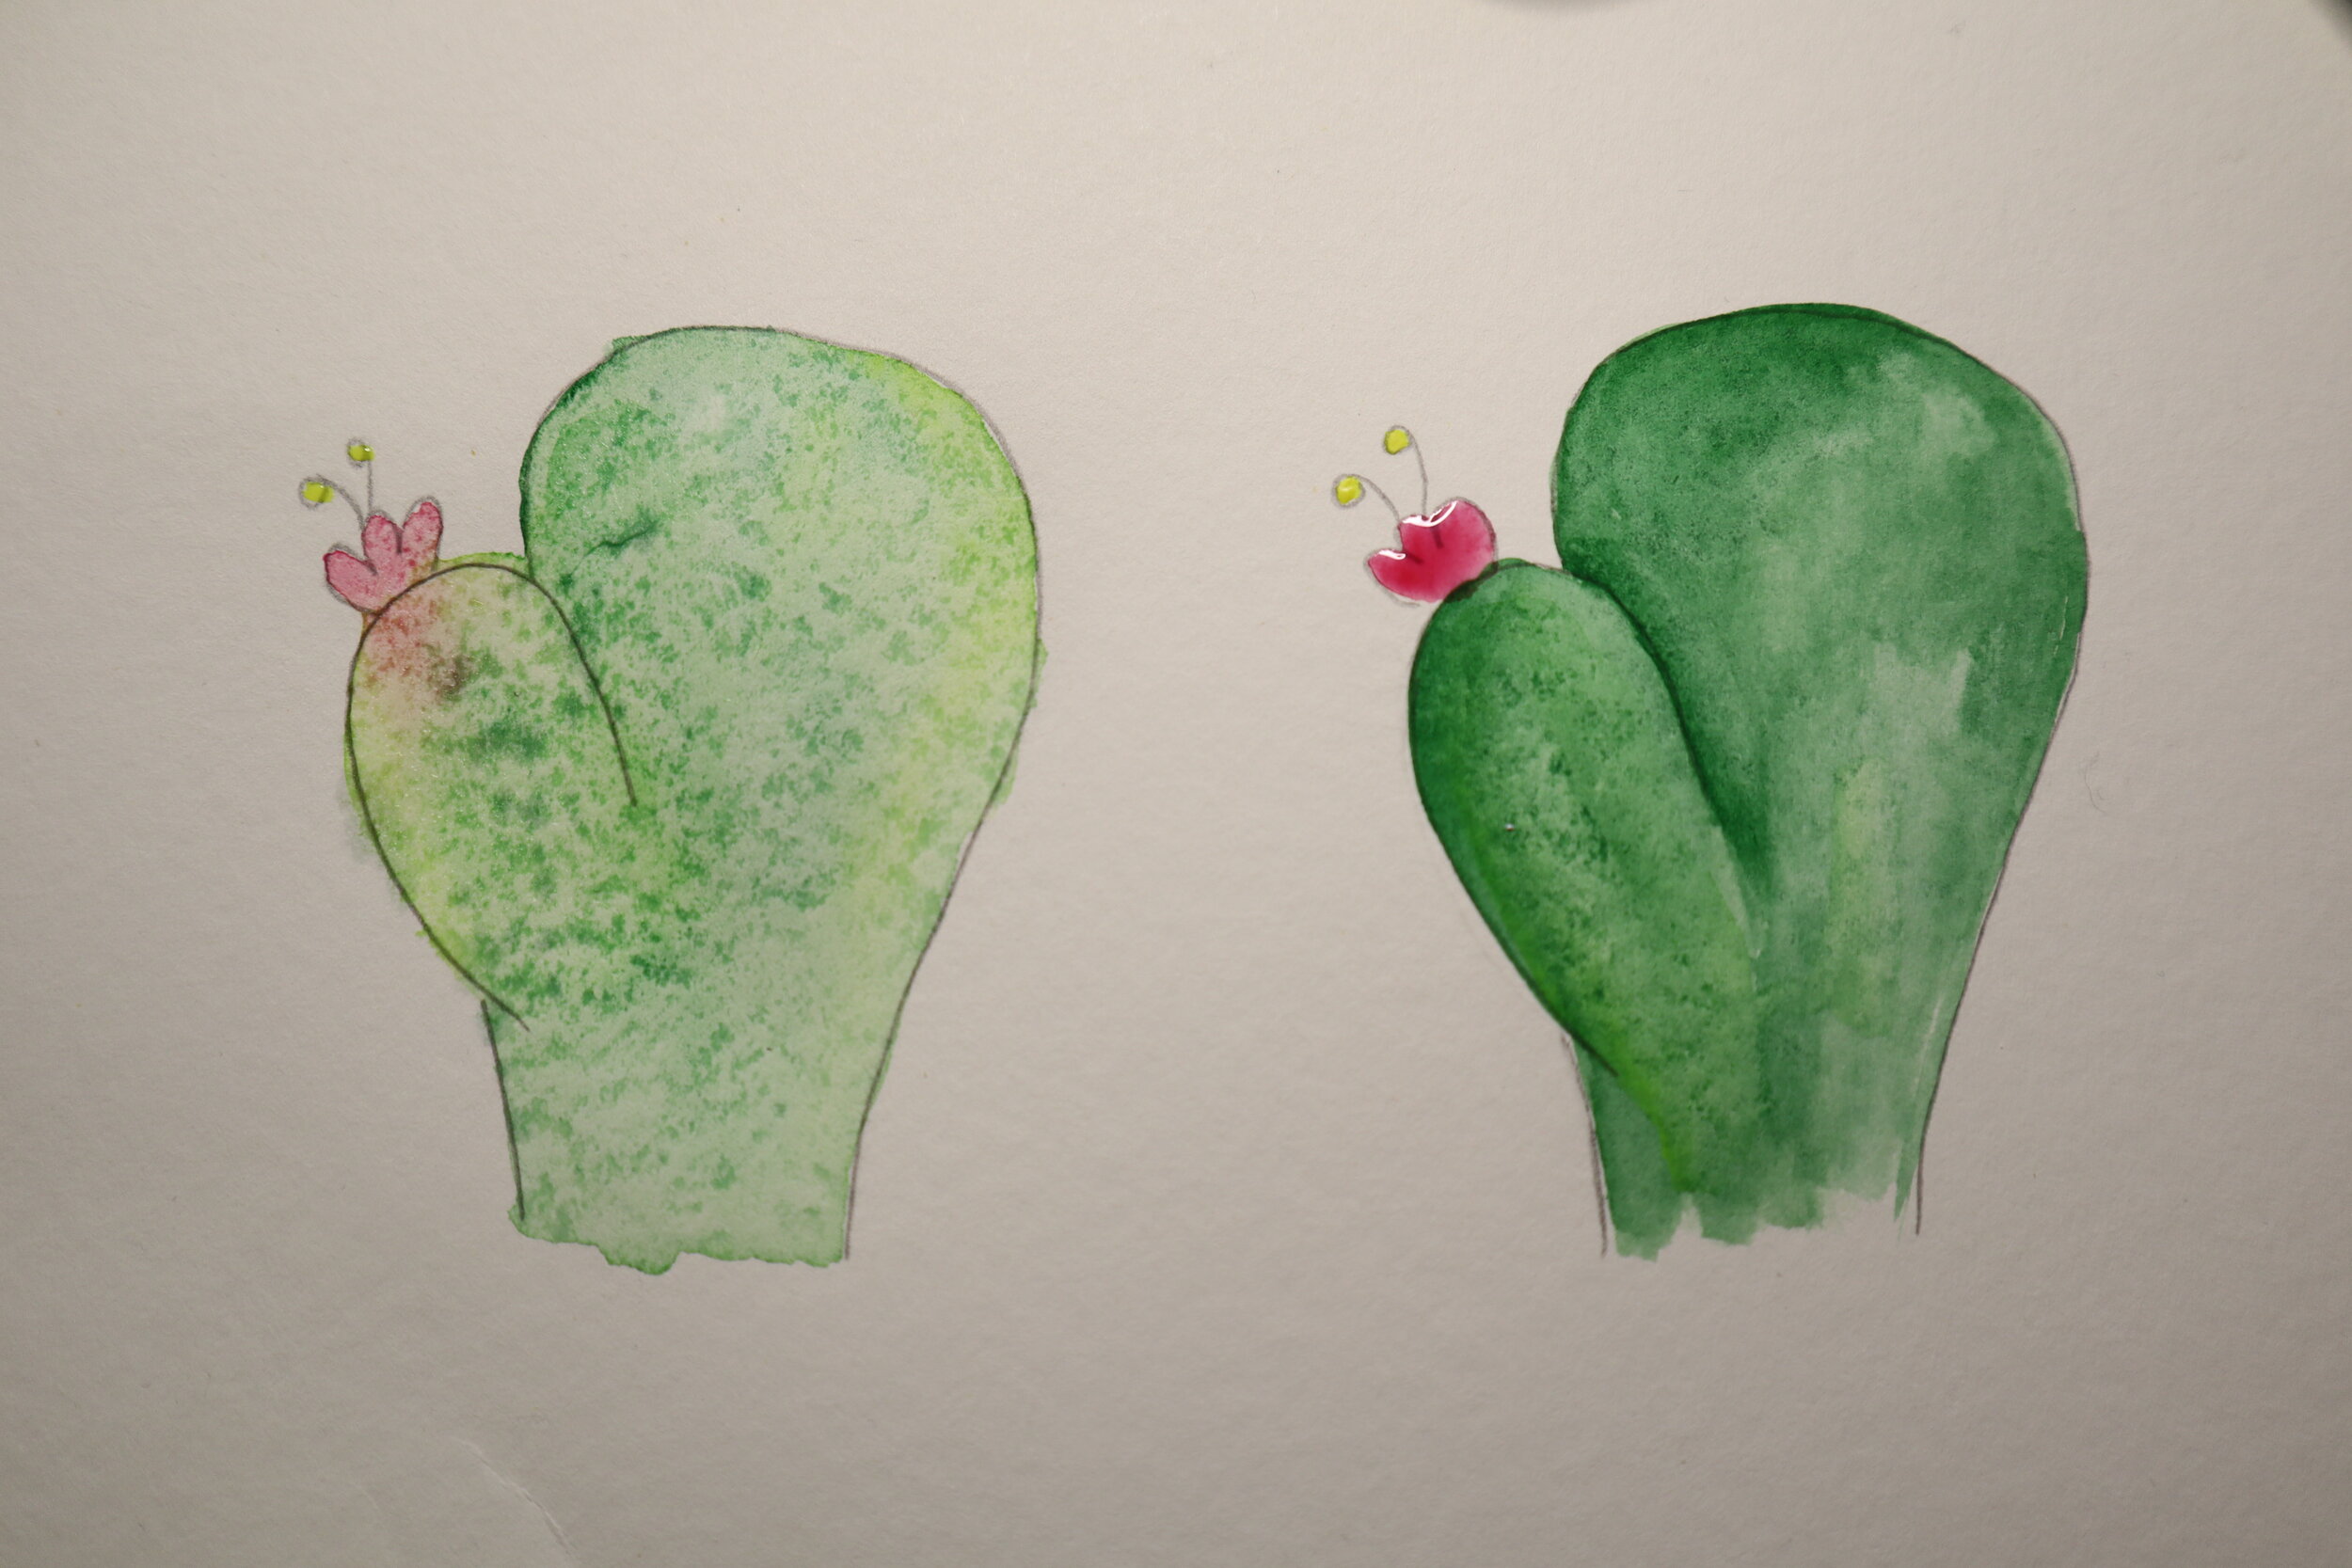
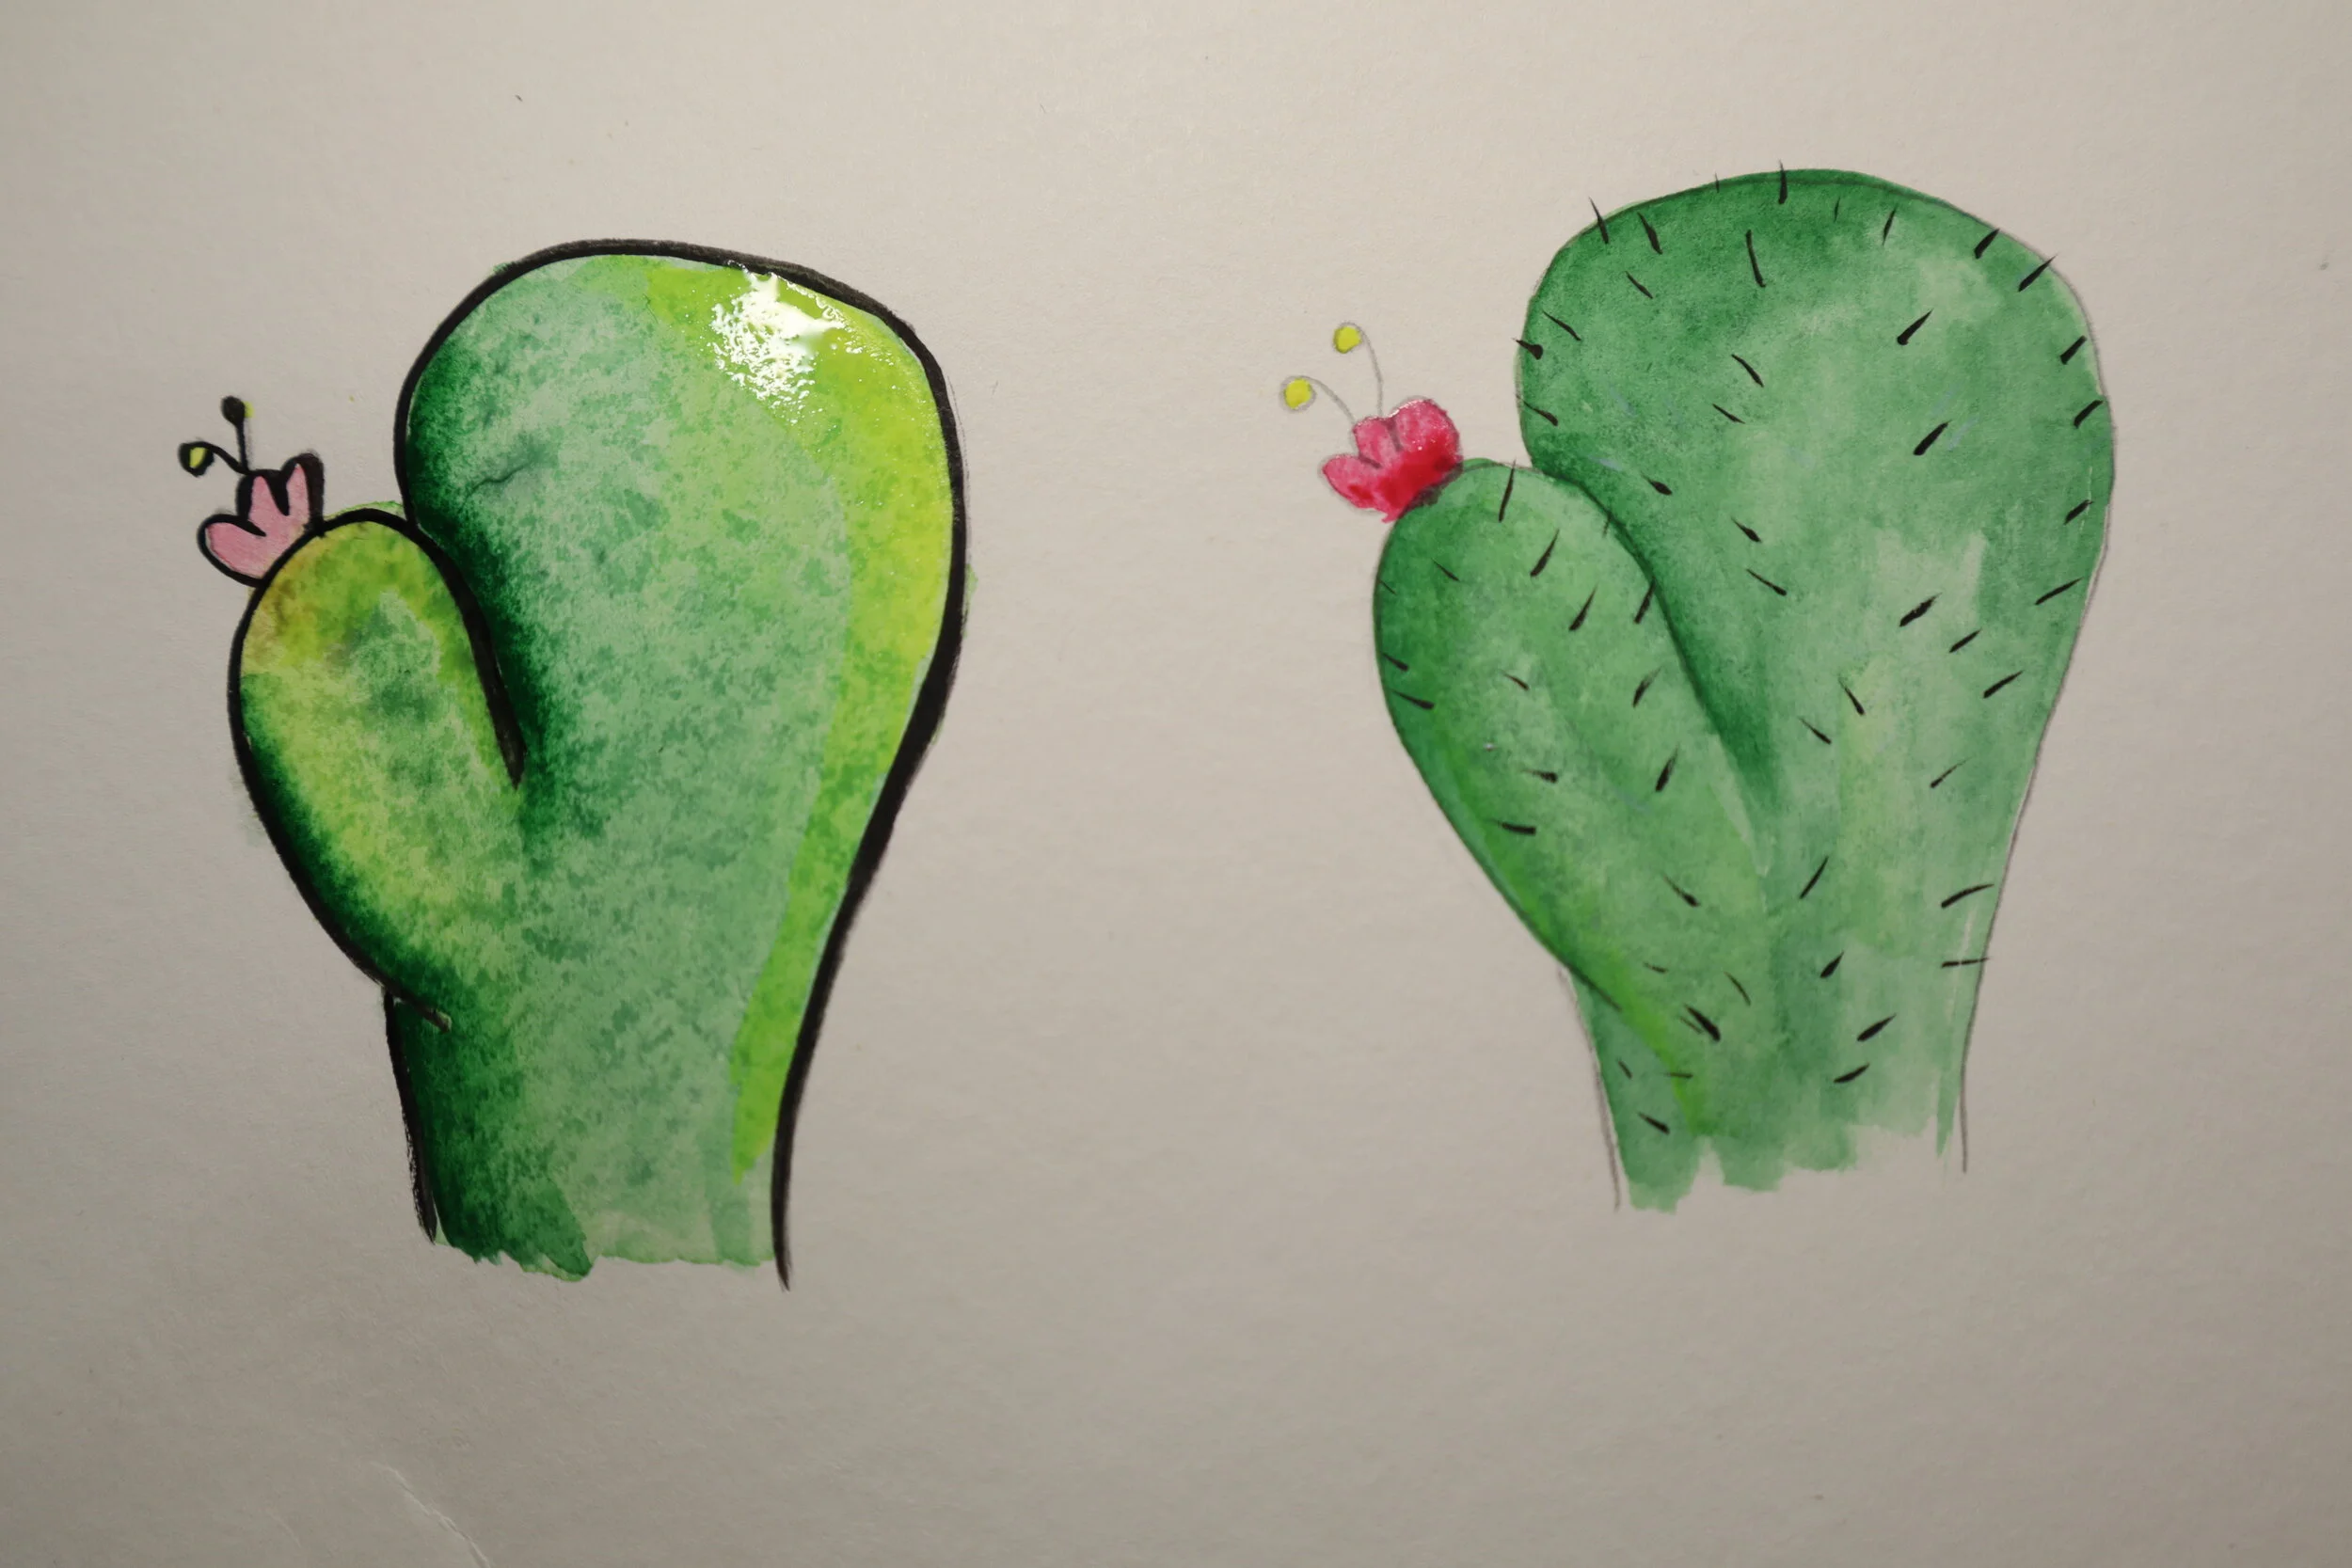
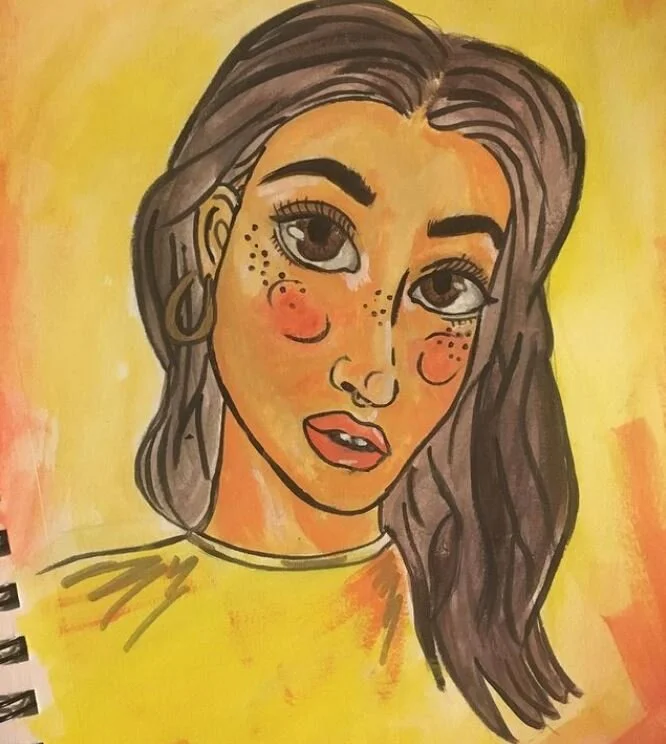
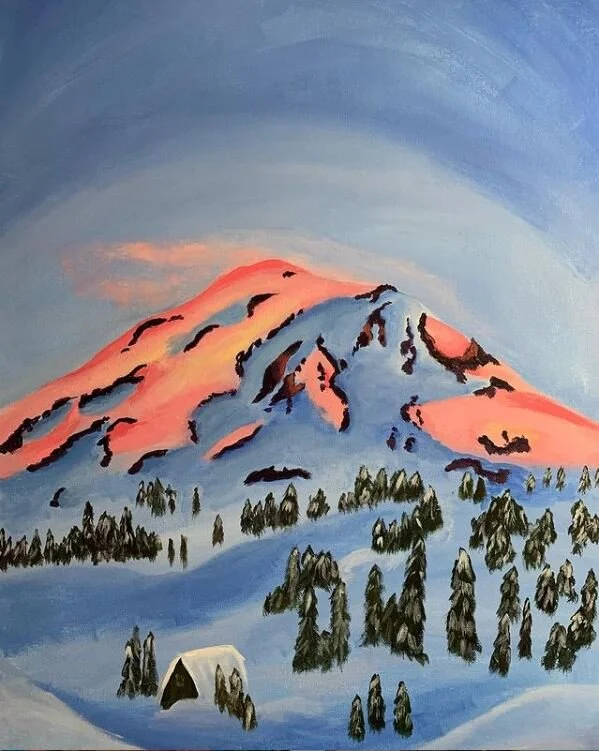
I feel like there is an apparent difference from where I started to what I was creating after the class. But as an artist today I can tell you they were all my style. My style was always there. If you are also trying to find your style its already there. This biggest difference from the pieces in the beginning to these pieces, is I wasn’t trying to create someone else style into my own. Its fantastic to have artist you like and enjoy. Its ok to feel like an artist is similar to you (as long as you are not copying) But to truly see your style figure out what it is you like and just create what you want. Use references that are not art ,like real life, still life, or nature instead of looking at other artists work. You’re style is there. No matter what you create — if you are the one creating it and you aren’t copying your style is already showing whether you see it or not. Before I “found” my style, friends would comment on my style and it was always a shock because I never saw it. A lack of consistency in your style doesn’t mean you don’t have one, it just means you are continuing to learn and grow and I promise its there hiding in plain sight. Here is work I am creating now.

sketchbook spread.JPG
mt rainer.JPG
sheep and raindows.JPG

With all of that said my biggest advice to finding your style it to keep making art. Your style is already there but the only way to allow yourself to see it, is by creating. If you need a refresh try the mood board like I did. You got this, I believe in you and your style. Best of luck growing, learning, and creating.

Happy painting,

Mickey

Watercolor fails and tips

Originally When I thought about this blog post and painted for it, I wanted it to be some tips and tricks to painting with water color. This post has now become more of a what not do and how to correct mistakes. I know I learn better with visual aids and by trail and error. If you are new for watercolor and need some basic tips to guide you this post is for you

Untitled design.jpg

I consider myself a mixed media artist. I love experimenting with new supplies. My favorite supplies are always dictated by whatever I enjoy a painting the most at the time. When I liked painting more surreal paintings I really enjoyed acrylic. When I was going more toward character and cartoon like drawings I loved digital. When I was painting a lot of simple animal and floral paintings I enjoyed watercolor. Currently I’ve really enjoyed playing with colors in landscapes and I really like using gouache for that.

Coming back to a medium you really enjoyed sometimes comes with a learning curve. Not that you don’t know how to use it or forgot but when you get used to one medium and switch gears it may take some practice to readjust. That is exactly what happened here. I had intentions for this blog post for tips and found myself needing tips for for myself to relearn and readjust to a medium I hadn’t been using much.

Lets start with supplies and where I first failed. So with watercolors you need paper that can handle watercolor which essential means, you need paper that can handle a lot of water. If you don’t have paper that can handle this the piece won’t turn out how you want it especially if you are using a technique that requires more water than others.

Lets talk about watercolor techniques. There is wet on wet, wet on dry, dry on dry, and more somehow. These techniques refer to how wet or dry the paint and paper are. For example, wet on wet refers to wetting the paper first and applying watered down paint. Its often used for background or filling a large area. What is confusing about these techniques is the use of the word dry. Watercolor paint is water activated so it is never really dry. When these techniques say dry they mean relatively less water. The drier the brush or paint is the more pigmentation you’re going to get because like in most cases water dilutes the pigment.

So I went on to try to demonstrate these techniques and quickly realized I was not doing these techniques justice. What went wrong? The cactus on the left I was using paper that couldn’t handle the amount of water I was using. I also used way more water than necessary, to both wet the paper and apply wet paint. On the right side I tried to use a dry technique but it ended up a little more wet than dry.

IMG_0060.JPG

Next I tried to demonstrated the use of dry techniques to layer to create shading and line work and still continued to make errors. On the left side I didn’t give the wet technique the appropriate amount of time to dry before introducing a new color and paint. The shadows ended up being way darker than I wanted and the highlight is almost none existent due to trying to water down the paint and fix what I had done. Instead of being patient and allowing the painting to dry I ended up added even more water to a piece/paper that couldn’t handle it. On the right side I skipped to outer line work to try to avoid more mistakes and just added spikes using the dry on dry technique.

IMG_0061.JPG

So in order to make up for this messy water color I decided to scrape the cactuses and start fresh by going to absolute basics of watercolor. I simplified what I was doing without worrying about a demonstration. I used less water and was patient with myself and the piece.

Here is a real break down of techniques and how I used them to create something was happy with:

  • First I used true watercolor paper. This makes big difference on how the pigment looked and dried. No more splotchy looking background.

  • I used the wet on wet method to create a base for everything. Instead of overdoing it with the water I laid a just a light base coat of water and didn’t over saturate the paint before painting.

  • I was patient this time and allowed the paint to dry between layering.

  • I used wet on wet to do base layers then dry techniques once it was dry to create the watercolor effect I was looking for.

IMG_0064.JPG

Im much happier with how this went. The cactus was a nice practice and reminded me of the techniques by doing them wrong. Be easy on yourself when you are learning or getting back into the grove of something. “Perfection is the enemy of progess”

Happy Painting,

Mickey